
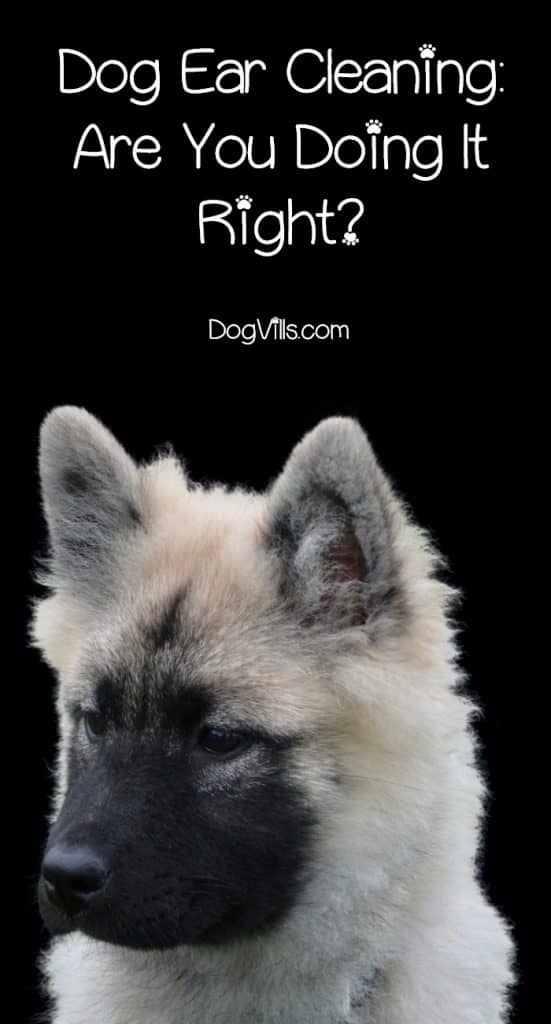
Cleaning a dog’s ear is an important step one shouldn’t miss in your grooming routine.
However, because it isn’t easy, most people simply skip doing it. As a result, their dogs become more prone to infection.
Now, if you are one of those people, it’s probably the right time rethink your dog’s grooming routine. Left untreated, an ear infection can paralyze your dog’s nerves, cause deafness, and lead to other serious complications. You wouldn’t want that, right? So, to help you out, check out this really handy guide to dog ear cleaning.
Related: Causes of Ear Infection in Dogs
Your Complete Guide to Dog Ear Cleaning
Affiliate links included below. If you make a purchase through these links, we earn a small commission at no extra charge to you. Thank you for your support!
1. Inspect your dog’s ear
Before you actually start cleaning your dog’s ears, it’s a good idea to assess them first. This will give you a clearer idea of how dirty they are and how much excess hair there is.
If you see a lot of hair coming from his ear canal, you may need to remove them prior to cleaning. You can pluck them using a pair of tweezers or your fingers. If the hair strands are slippery or greasy, you can use a special powder to make gripping easier.
Apart from hair and dirt, you should also inspect your dog’s ears for signs of infection, parasites or irritation. There should be no:
- Foul odor
- Off-colored discharges
- Signs of pain
- Swelling
- Excessive scratching
- Sensitivity
If you find any of those signs, make sure to take your dog to his veterinarian for proper treatment.
Now, there are dogs that are more prone to ear problems, like breeds with long and low set ears. Great examples include Chinese Shar-Peis, Chow Chows, Basset Hounds, and Springer Spaniels.
If you own any of those breeds, make sure to regularly inspect your dog’s ears to decrease his risk of ear problems.

2. Create a positive impression
Dogs don’t really like getting their ears cleaned so you need to associate the experience with something positive and rewarding. That way, he’s likely to cooperate and behave well.
One of the best ways to do that is to prepare some treats. Offer them each time your dog behaves well during ear cleaning. A good belly rub can help, too.
Now, although it’s tempting to do the cleaning while your dog is sleeping, refrain from doing it. Your dog can get startled and this can cause trauma.
Also, avoid getting mad at your dog and yelling at him for not sitting still or behaving well as that can make him even more restless.
3. Have the right materials ready
Before you begin the cleaning routine, prepare the following materials:
- A towel
- Cotton balls
- Tweezers
- Ear cleaning solution
- Cotton-tipped applicators
- Gloves


Not all ear cleaning solution works the same way. Some can loosen wax while others can simply break down wax buildup. If you aren’t sure, get your vet’s opinion.
After you’ve assembled your materials, place them within easy reach. The last thing you want to happen is to leave your dog to get your materials and start all over again. That will be frustrating for you and stressful for your dog.
4. Know the right way to clean your dog’s ears
Cleaning your dog’s ears is easier said than done. If you fail to do it the right way, you can actually end up causing damage.
- To start, you need to begin cleaning from the outside. Hold the ear flap and apply a few drops of the cleaning solution.
- Place the tip of the solution into the ear but make sure that it’s not too deep. Gently squeeze the bottle to make sure you don’t dispense too much product.
- Massage the base of your dog’s ear just near his jaws. This is the part where you can feel his cartilage. Try to massage the area for a couple of seconds. If the ear is dirty, massage longer. Massaging the solution can help get the product into the ridges of the ear canal and loosen any debris. This will give your dog’s ears a good clean.
- Allow your dog to shake his head. To protect yourself, you can use a towel at this part.
- Next, saturate a piece of cotton ball with the cleaning solution. Use it to wipe and clean the ear canal.
You can also use your fingers or a cotton-tipped applicator. Just make sure that you don’t push it any further than you can see to avoid damaging your dog’s ears. Do the same steps for the other ear and repeat if the ears are still dirty. If you see your dog’s ears turning red or if they start to bleed, stop right away.
Once you’re sure you’ve thoroughly cleaned your dog’s ears, wipe off any visible debris and dry his ears.
5. Don’t forget to reward your dog
Give your dog lots of attention and praise once you’re done. You can also give him a few more treats for behaving well.
6. Know when to clean your dog’s ears again
The frequency of cleaning your dog’s ears will depend on his level of activity, breed, age, ear wax production, and coat. As a rule of thumb, however, you should clean his ears once a month.
If your dog likes to swim or if he tends to wet his ears a lot, you’ll need to wipe his ears each time he swims or plays. You can use an ear cleansing solution but make sure that it’s something approved by his vet.
As much as possible, try to avoid vinegar and peroxide solutions. These homemade solutions don’t evaporate well and they turn into water. As that water gets stuck in your ear canal, it creates more problems.
7. Ask for help
If you are unsure where to get started or what products you should use, don’t hesitate to ask for help. Talk to the local vet to find out which products won’t compromise your dog’s health and which technique can work for your pet. Remember, not all dogs are the same which means they can have different reactions during ear cleaning. With this, try to experiment and see what technique will work best for your pet.
Patience is another thing you need to possess, too. It can take some time before your dog gets used to getting his ears cleaned.
Conclusion
Your dog’s behavior or his inability to cooperate well shouldn’t stop you from cleaning his ear. If you let those things get in the way, you’ll be putting your dog at risk of ear infections, deafness, and nerve paralysis.
With the steps and tips mentioned above, dog ear cleaning can be a bit easier for you and your pet. Just make sure to be patient and consistent and your dog will find the experience a lot more enjoyable.


